
Since I like to model in 3D (See my Robots music video) and I like to build stuff, a 3D printer seems like a great idea. I found one on sale at Banggood for about $170 including shipping. I'll build it and try it out.
February 1, 2018. There are already many YouTube videos showing how to assemble this printer. I watched this good one to supplement the instructions that came with the printer:
https://www.youtube.com/watch?v=-tiHfzBQZpI
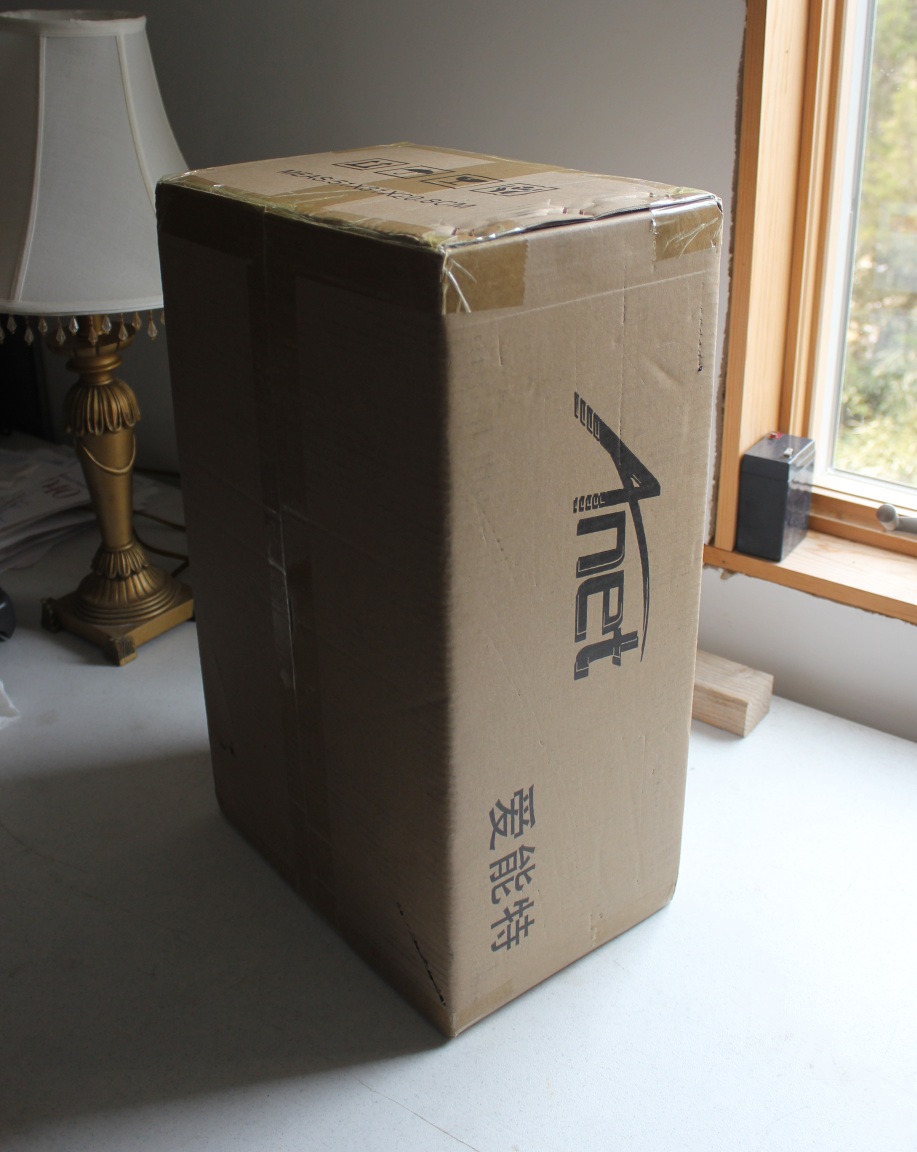
The printer arrived yesterday morning:
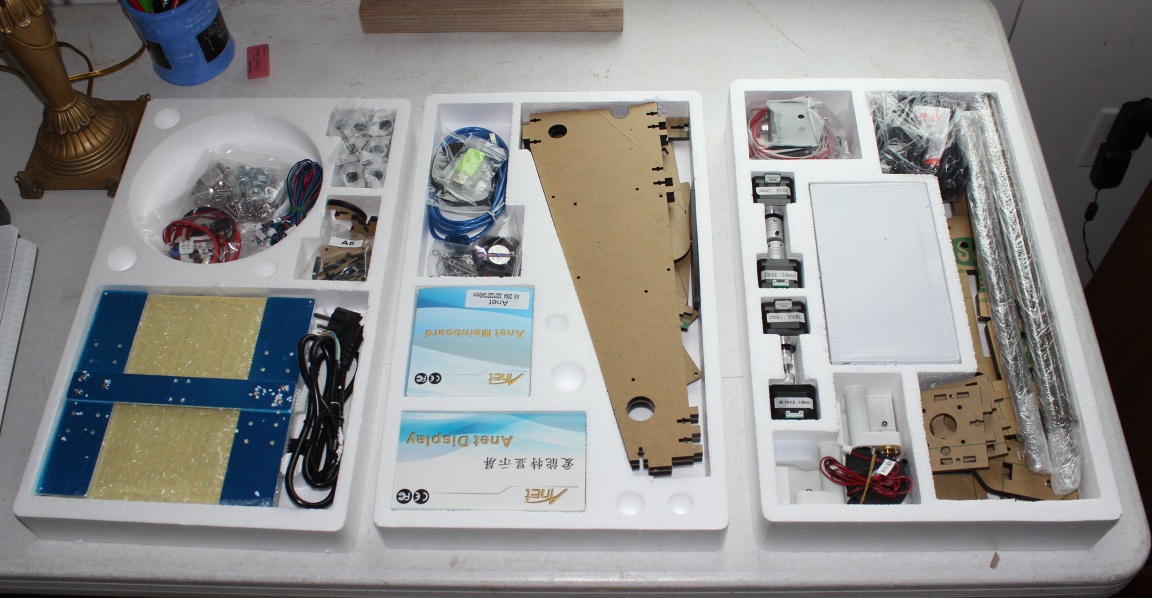
Inside:
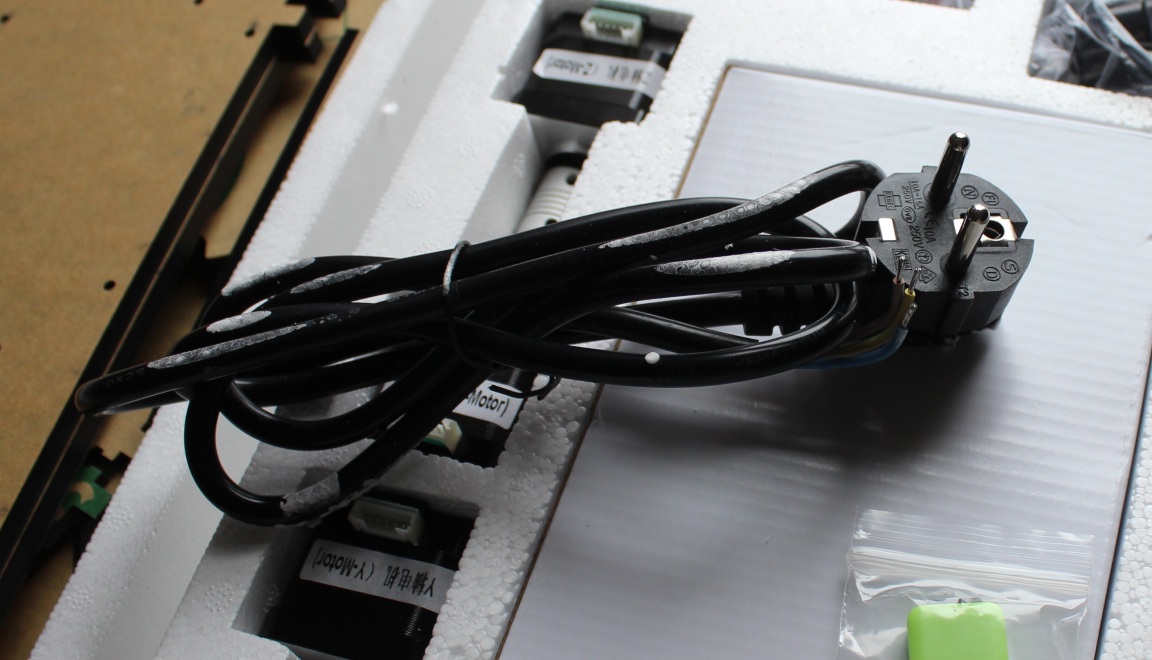
The default power cord:
I found an old 3 prong cord in the garage, 18 AWG, will easily handle the current of the power supply.
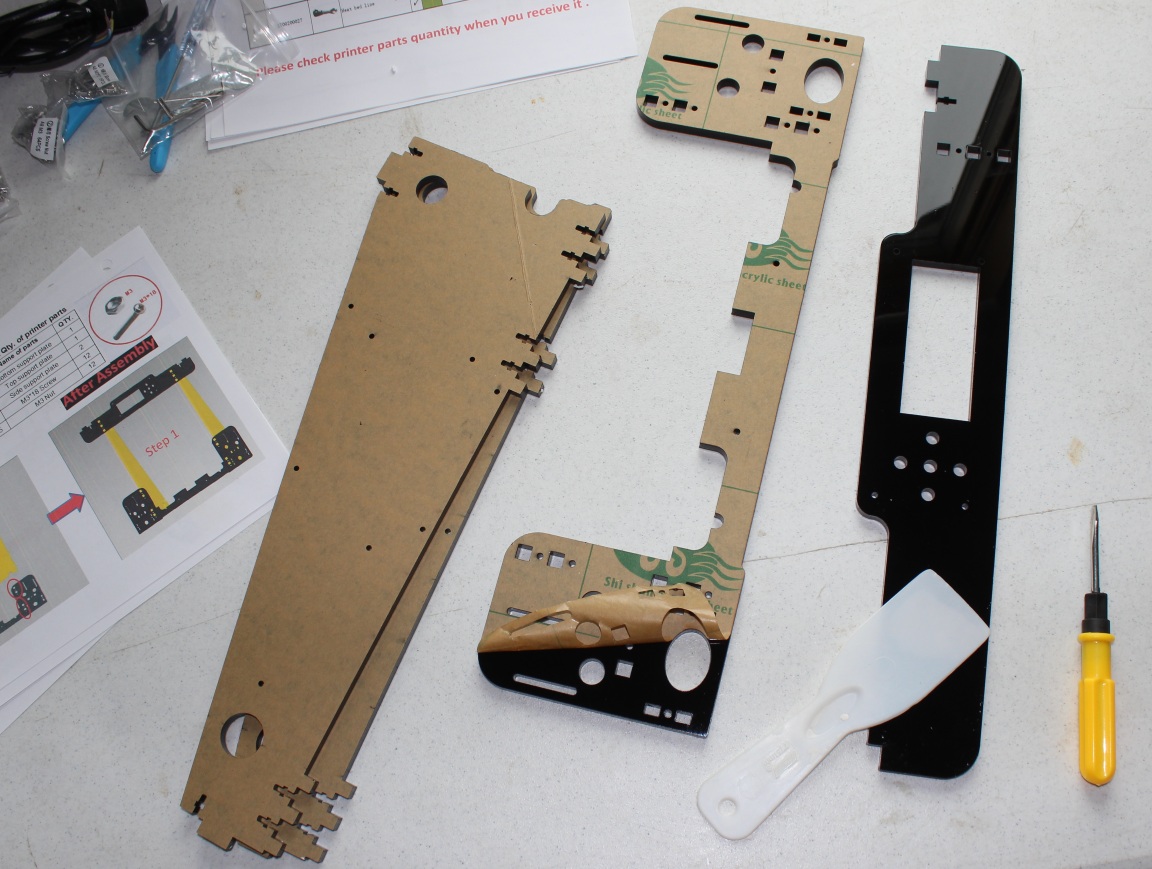
Instructions in English were included on a micro SD card. I printed the parts list and checked off each item:
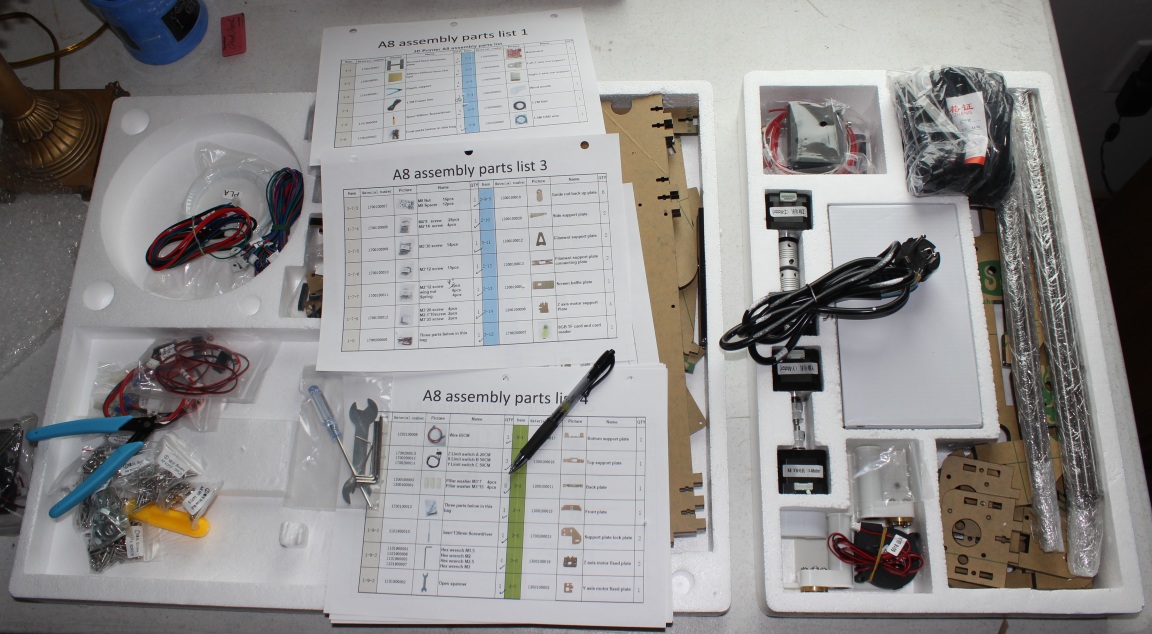
Nothing missing. Next step, remove protective paper from the arcylic pieces. Slightly annoying, as reported by others. I found a sharp plastic spatula was useful to lift the stubborn paper:
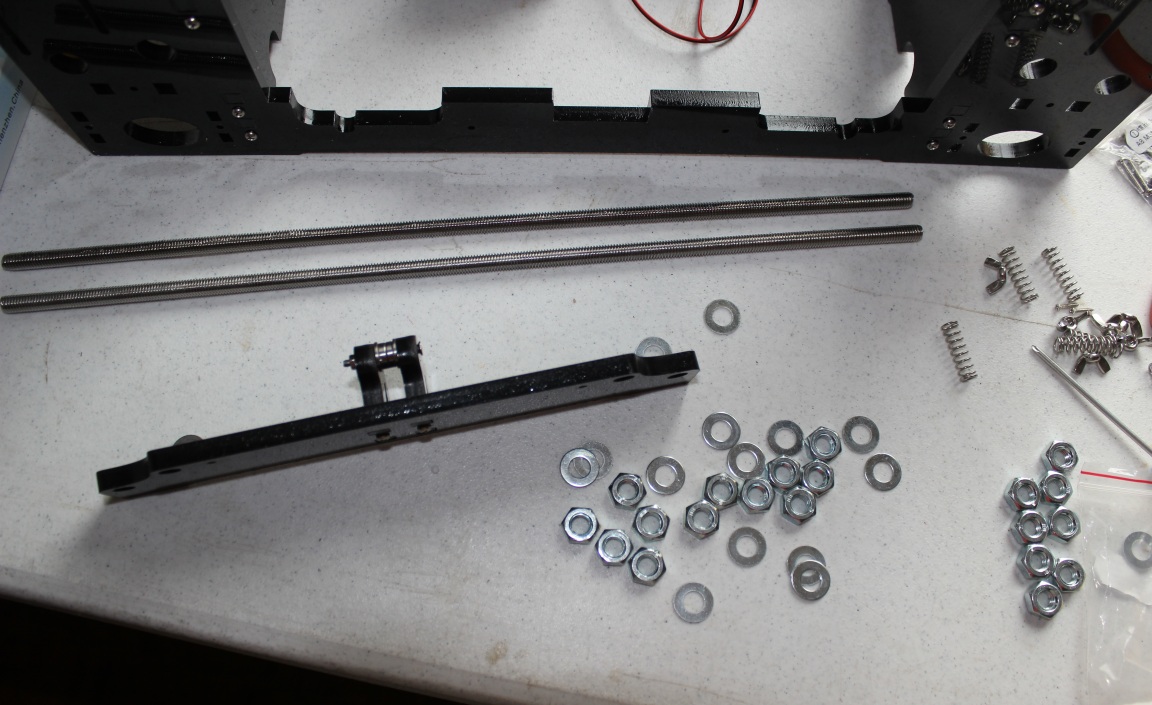
Step 1 complete:

One of the threaded rods had a long line of very sharp shards of metal, must not have been correctly cleaned up. Poor QC. Cut my finger more than once. I cleaned the rod up with wire brush and light grinding:
Step 7 complete:
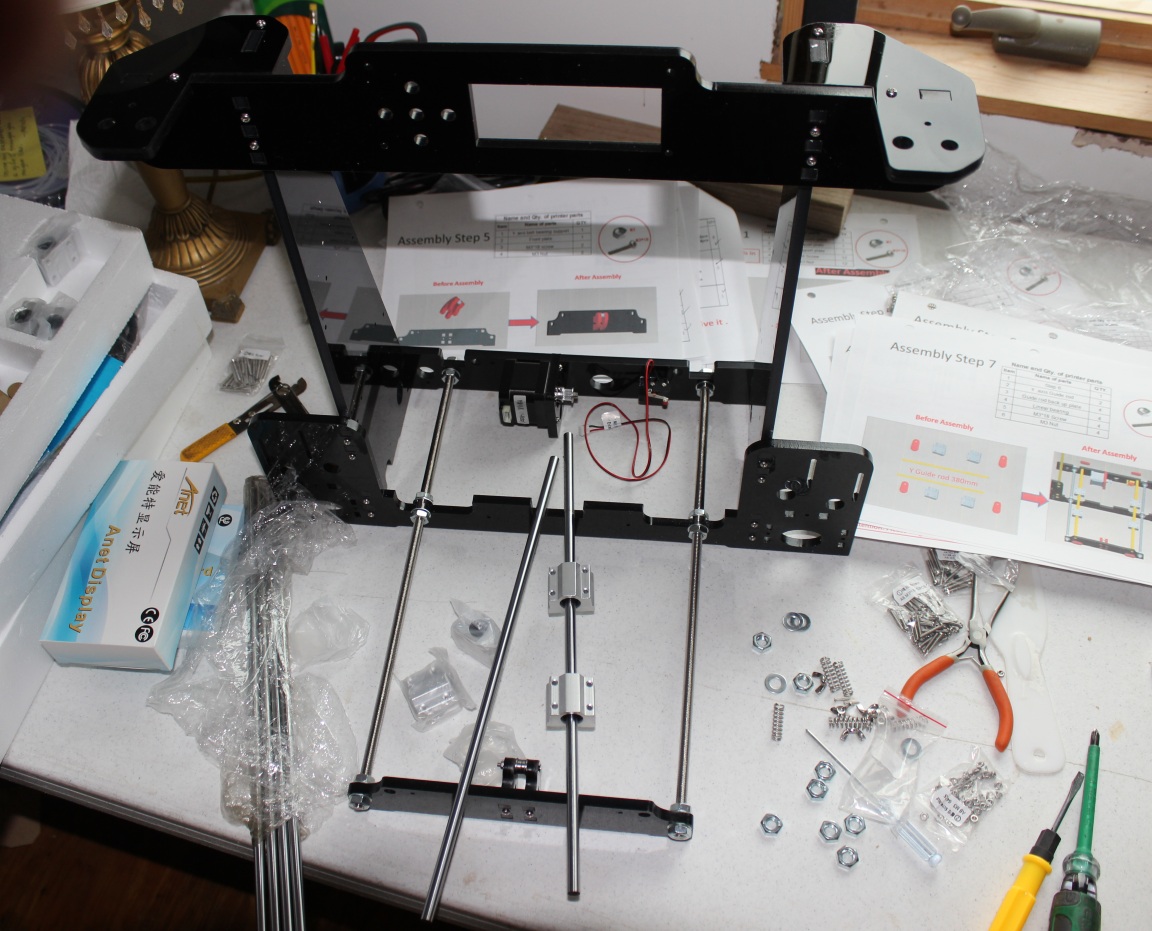
Step 17:
Lots of wires to connect. Don't worry. Take one set of wires at a time, connect them, check them off as I go:
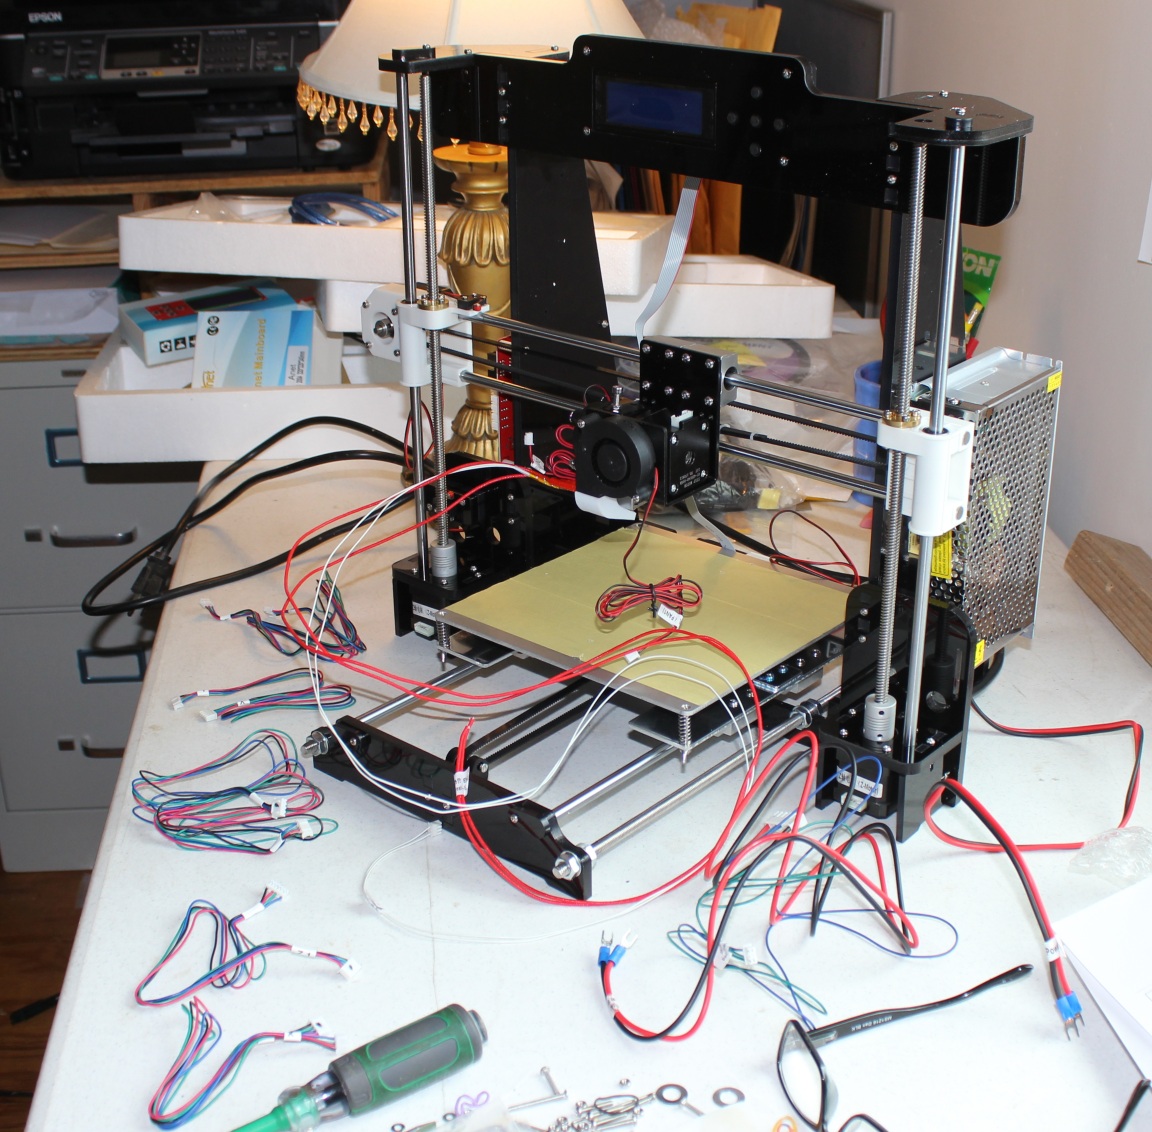
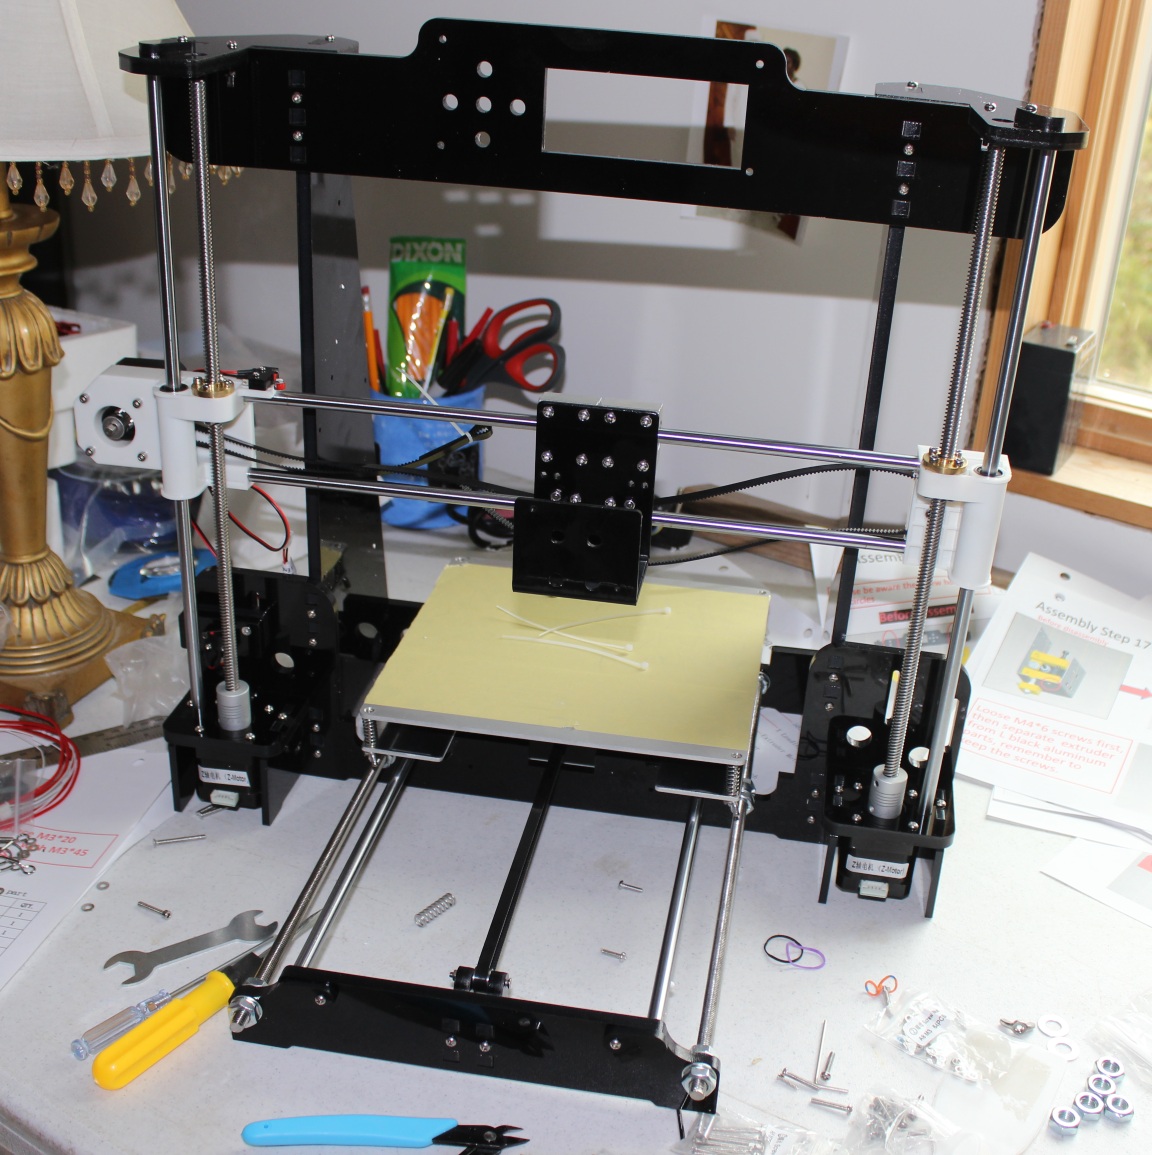
The short story: I finished buiding the printer the next day, February 2.
Had to troubleshoot. The printer screen lit up when I first plugged it in, but on initialization of the motors, the z-axis motors would not shut off at the limit switch. On closer inspection, I found that I had mounted the z-limiting switch incorrectly. Once I fix that, the printer worked. I leveled the hot bed as per included instructions and a couple YouTube videos. I fumbled through finding a file to print on the included SD card but stopped it mid print not really knowing what I was printing or how long it would take. On February 3 I figured out how to download a file from Thingyverse, convert it to gcode in Cura (included with the printer), load it into the A8 and print it. Here is my first full print, Benchy the benchmark tugboat, Thingyverse Thing# 763622:

This exceeded my expectations. Very few stray threads, lots of detail, close enough for government work, especially this government. To measure the accuracy of the printer, I modeled a simple 2.0 cm cubic box in Blender, exported it as an SLA file, loaded it into Cura, converted it to gcode and printed it:
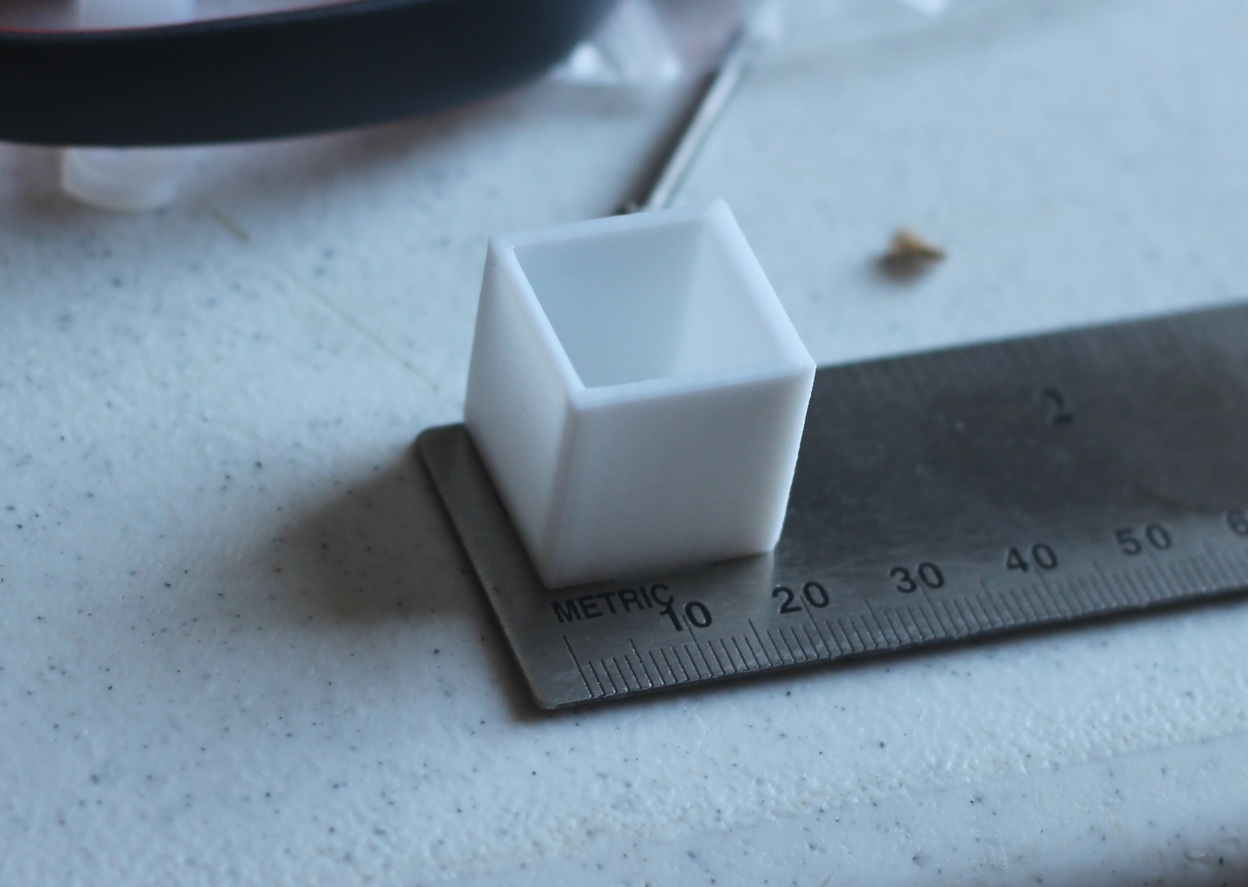
I got an accuracy of 99% or better.
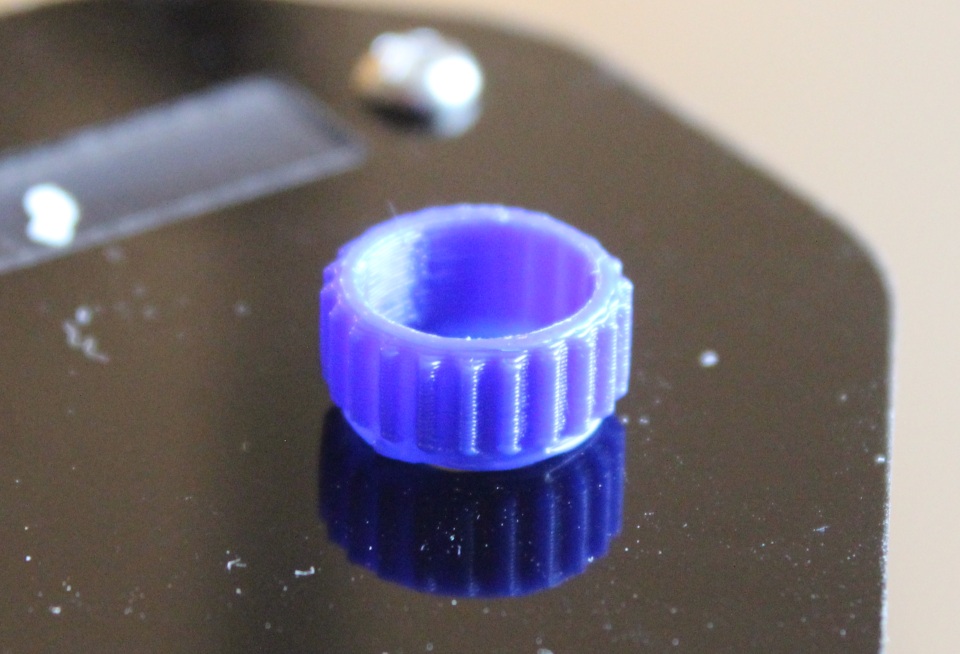
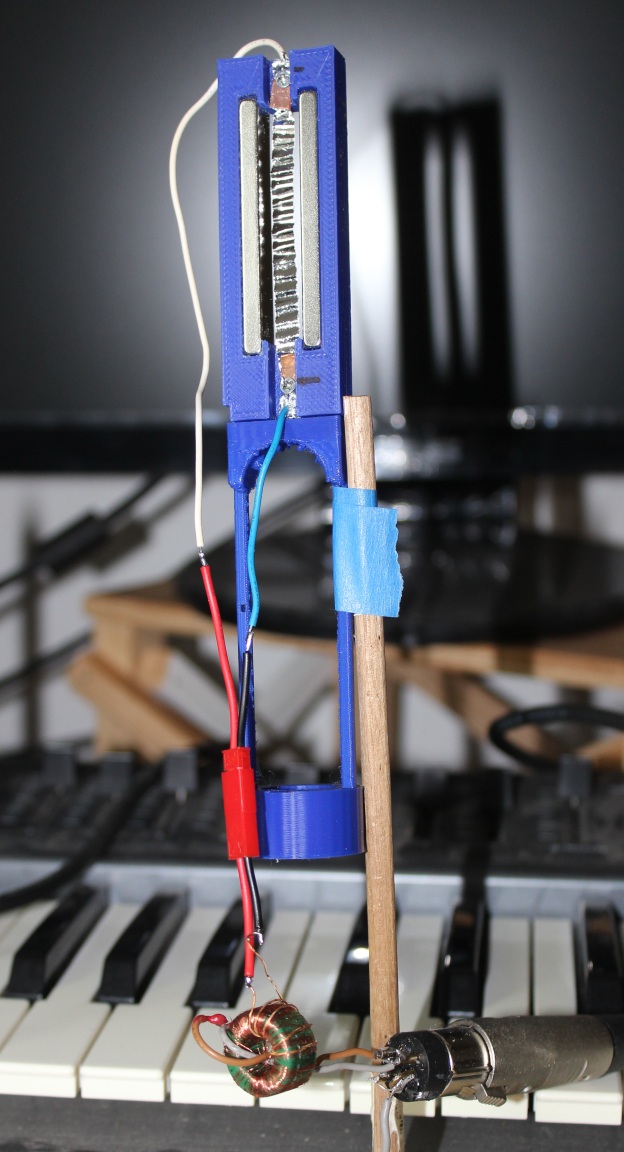
The next thing I printed was a ribbon mic motor base. This is the practical reason I got the printer. My first try looks great.
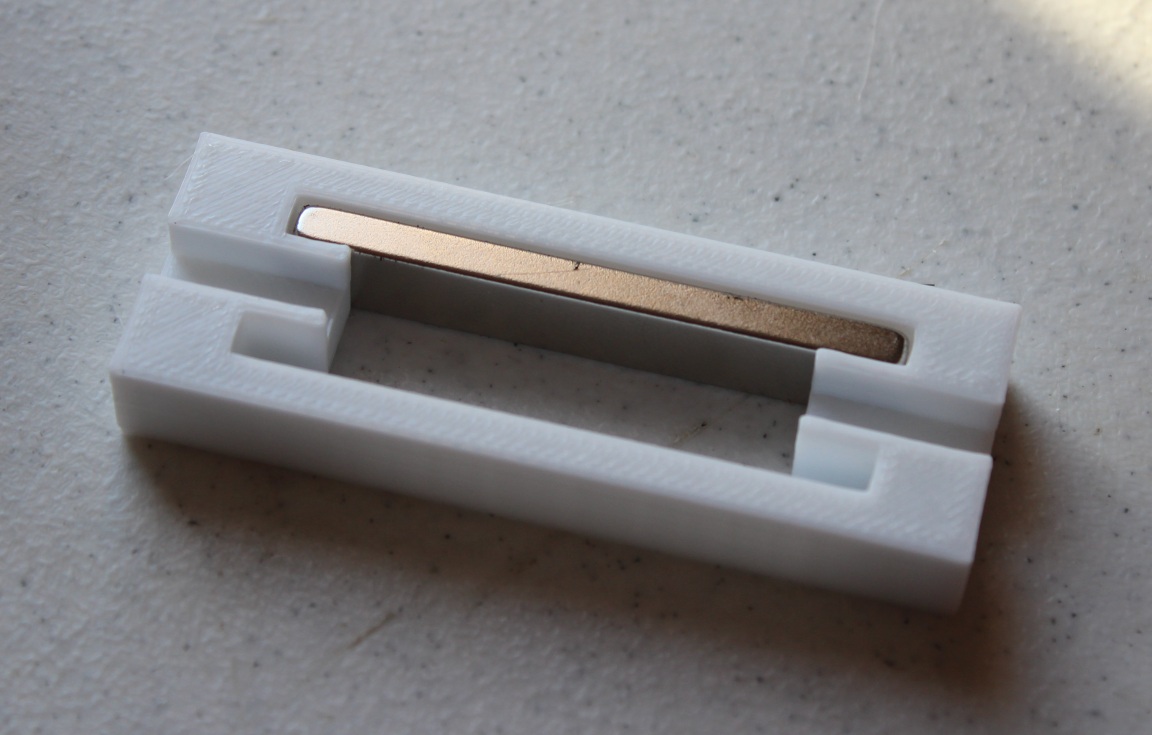
I can use this base to test the function of the ribbon motor and I can plan modifications for the next print.
My initial review for 3d printer performance is excellent. The quality of construction is acceptable. The acrylic frame while steady enough for good prints is brittle. I broke one of the z-axis motor mounts when I leaned the printer on the side during construction. (I that fixed today, February 4, by printing the part from Thingyverse.)
I recommend the printer to any do it yourselfer. There is a wealth of information about this 3D printer on the internet. I knew absolutely nothing about 3D printers last week. I was able to build this printer and get a good first print in two days with no upgrades. You will, however, need some building skills and patience.
February 6. Here are some things I have printed to upgrade printer performance.
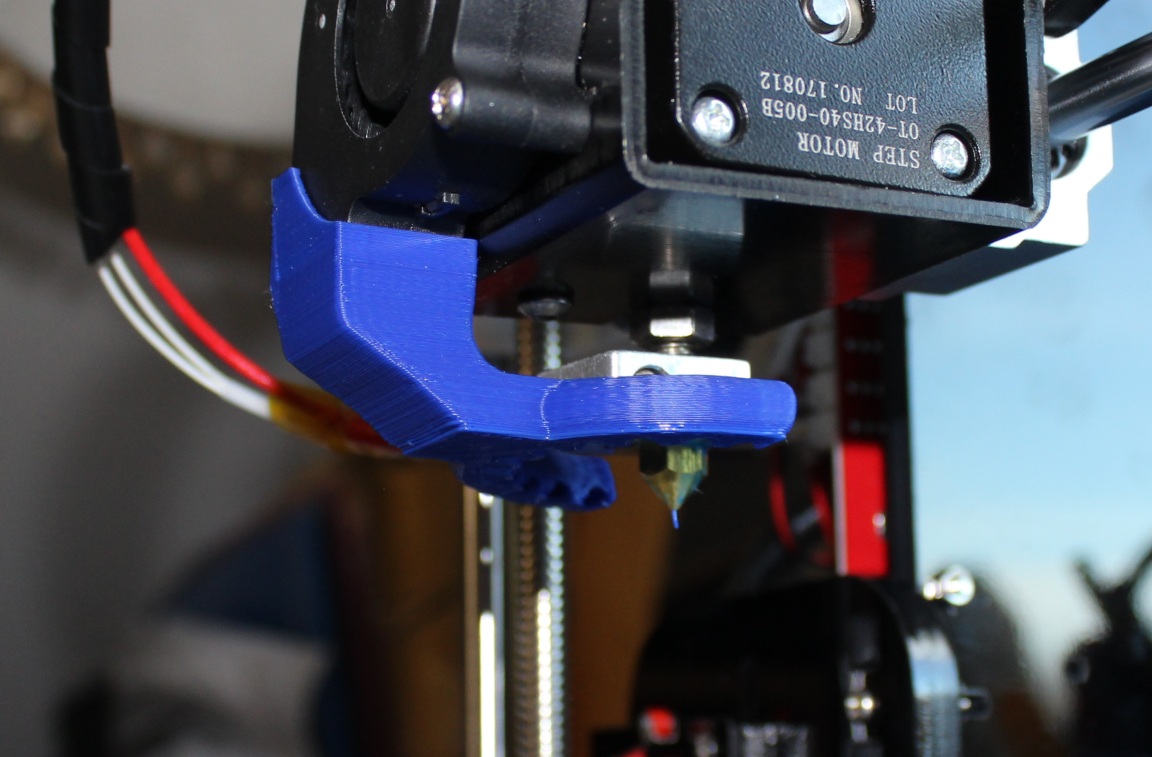
Semi-circular fan duct, Thingyverse Thing# 1954001:
Toothed idler pulley cover to reduce vibration on x and y axes. Thingyverse, Thing# :2099608:
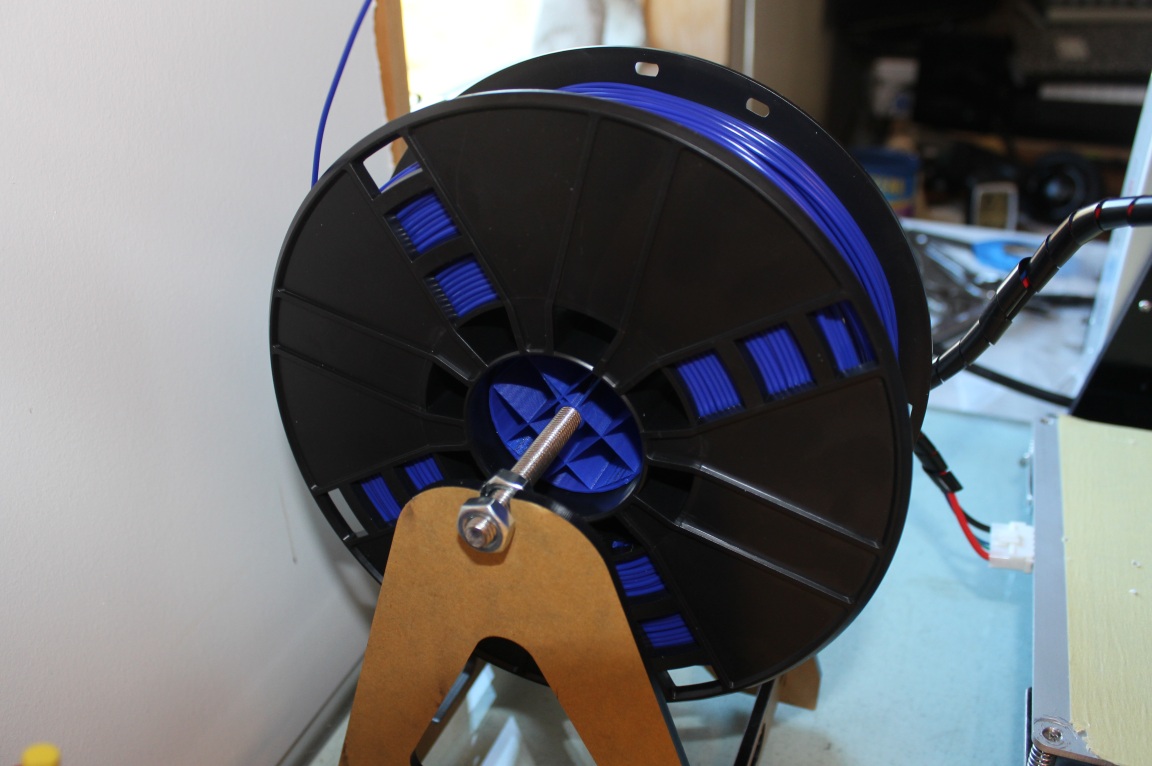
Filament reel insert, should yield smoother feeding of the filiment. Without this insert, the reel rocks forward and backward while feeding. I designed this in Blender. I stopped the print about 3/4 through the print because I like the "cut-away" end. It is plenty strong with 6% fill in Cura:
A horseshoe clamp (set of four, thingyverse Thing# 2364425 ) to secure the printer to a piece of 3/4" MDF, to decrease vibration during printing:

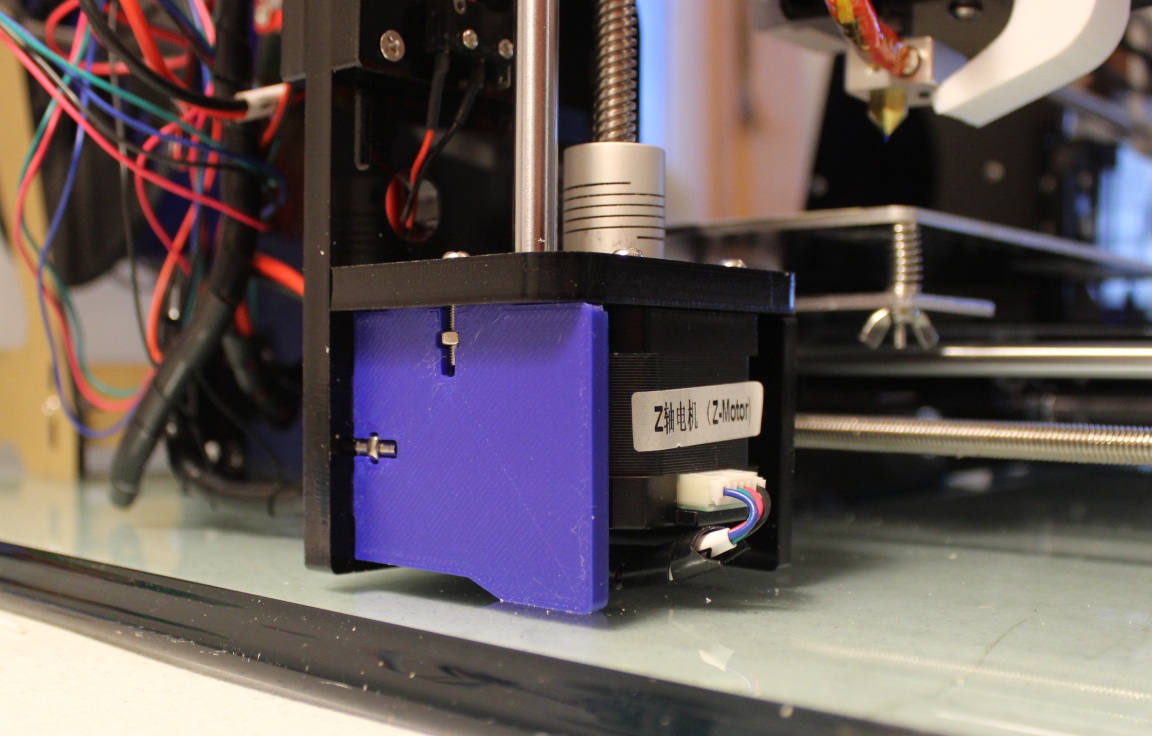
Here is the z-axis motor support piece I printed from Thingyverse, Thing# 2288314, to replace the piece I broke during construction. Good fit:
This machine is a great addition to my tool box. I will use it to make parts, tools, toys. Here are some of the things I have made as of February 18:
A gear for a microphone ribbon crimper:
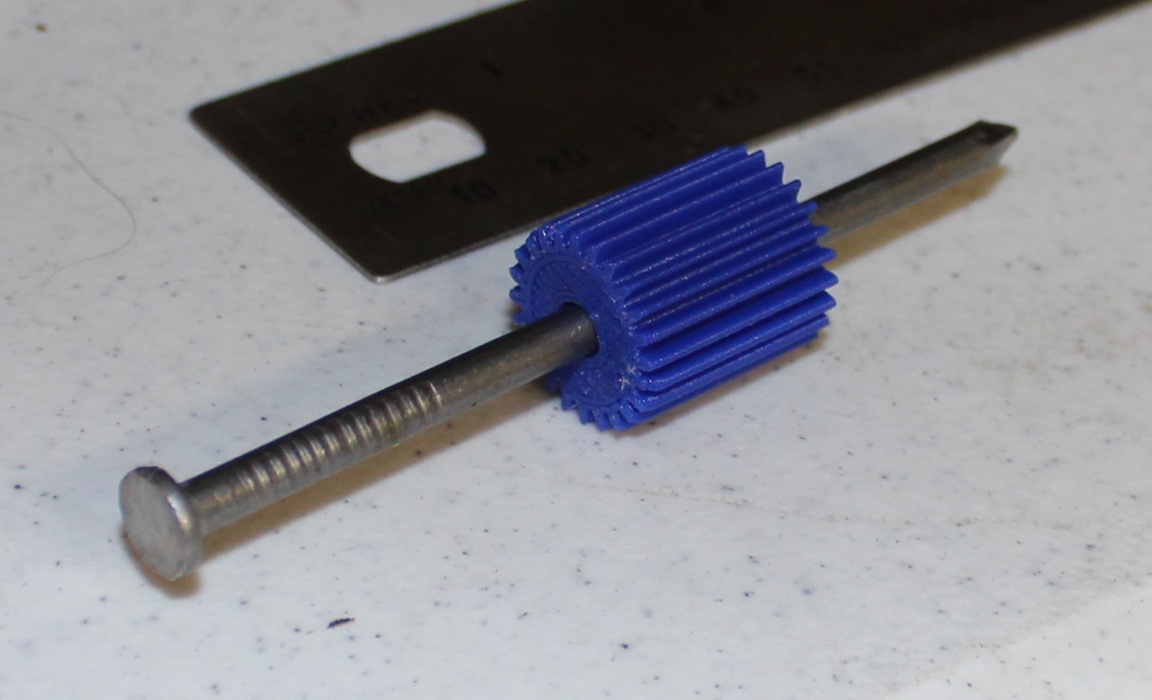
Click here to see the printer as it prints a gear.
Ribbon microphone components:
A 3.0 cm diameter sphere:
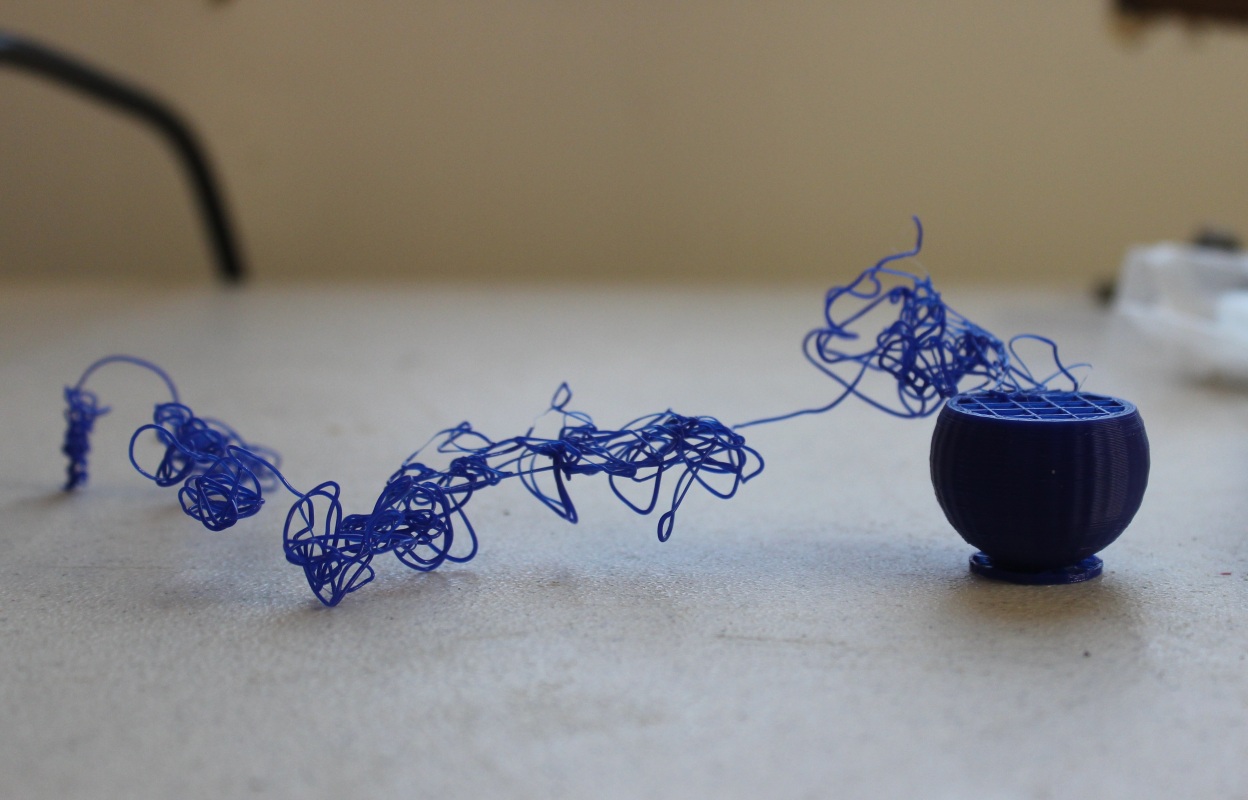
The photo above shows what happens when the object comes off the hot bed while printing... A pessimistic person would say this represents what is happening to the world we live in.
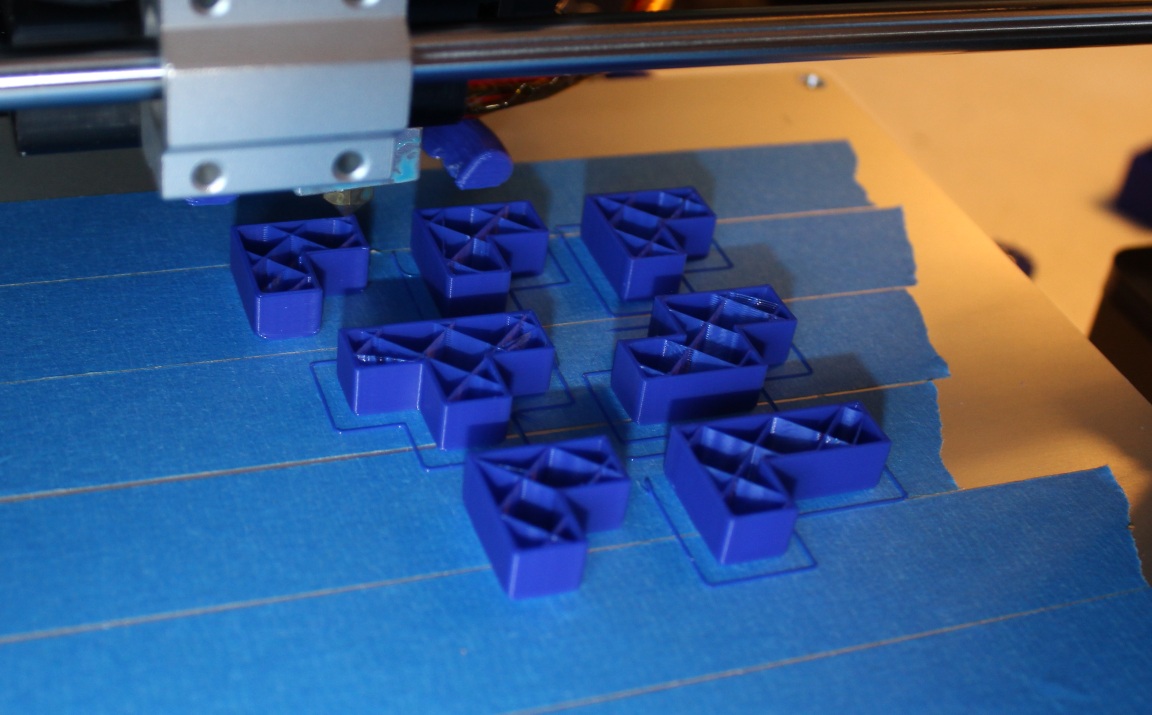
A Soma cube puzzle (Thing # 3784) printing:
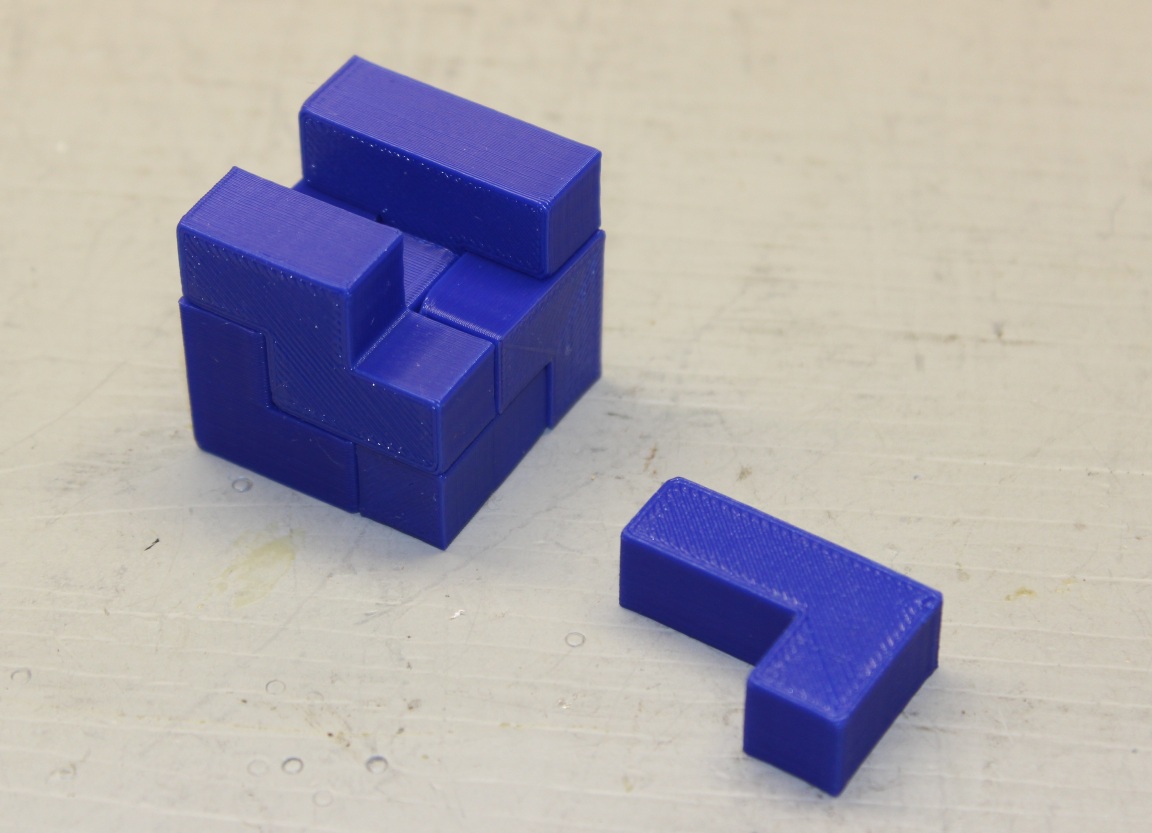
Cube printed:
An ocarina (thing:2755765) printing:

The ocarina shows "ringing" to the right of the holes. I will make more improvements to see if I can reduce this artifact, but the ocarina works as is. The vertical support pieces are created by Cura, the slicer software.
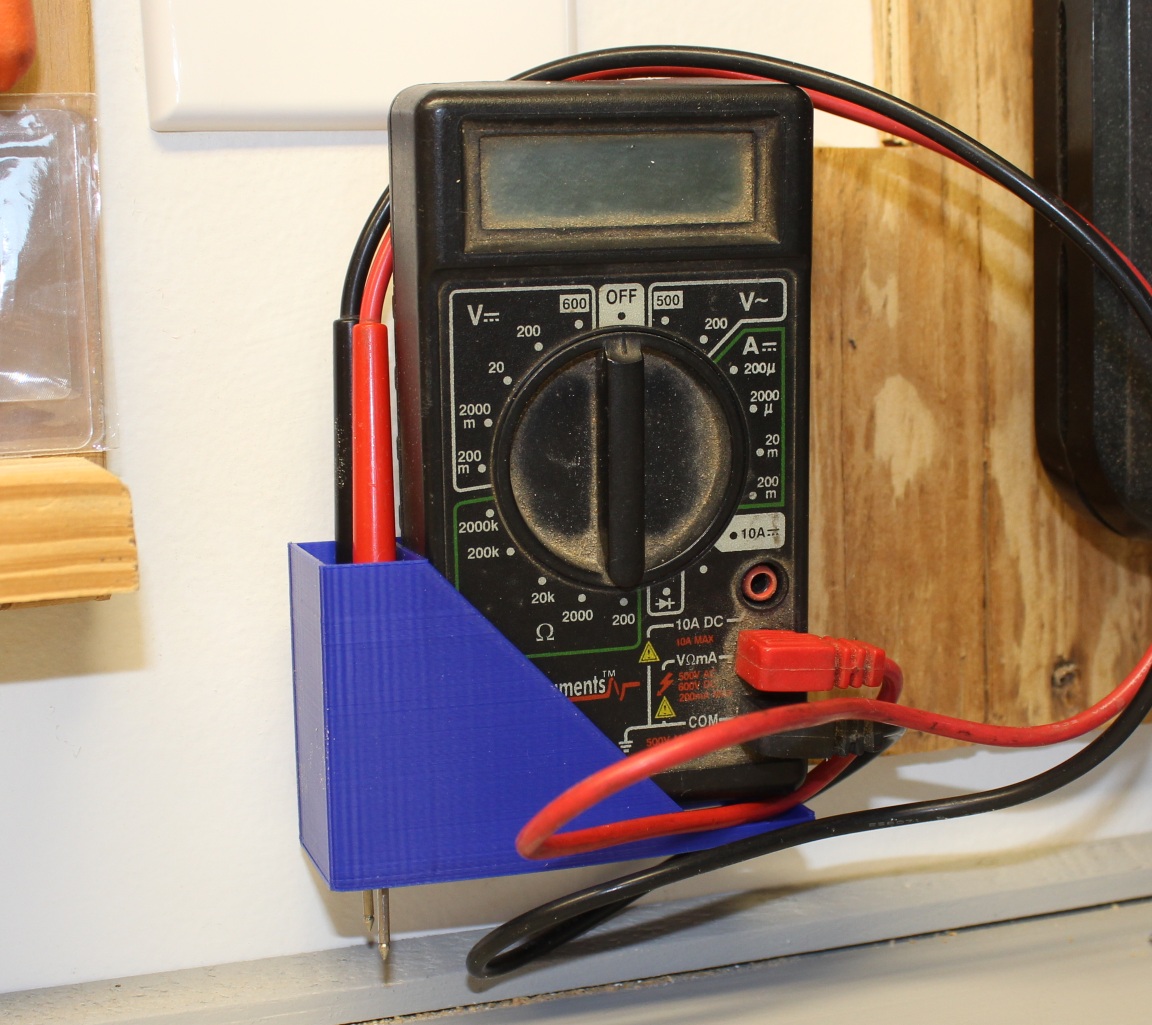
A volt-ohm meter wall-mounted caddy I desgned in Blender to give me more practice, based on similar caddies I saw on Thingyverse:
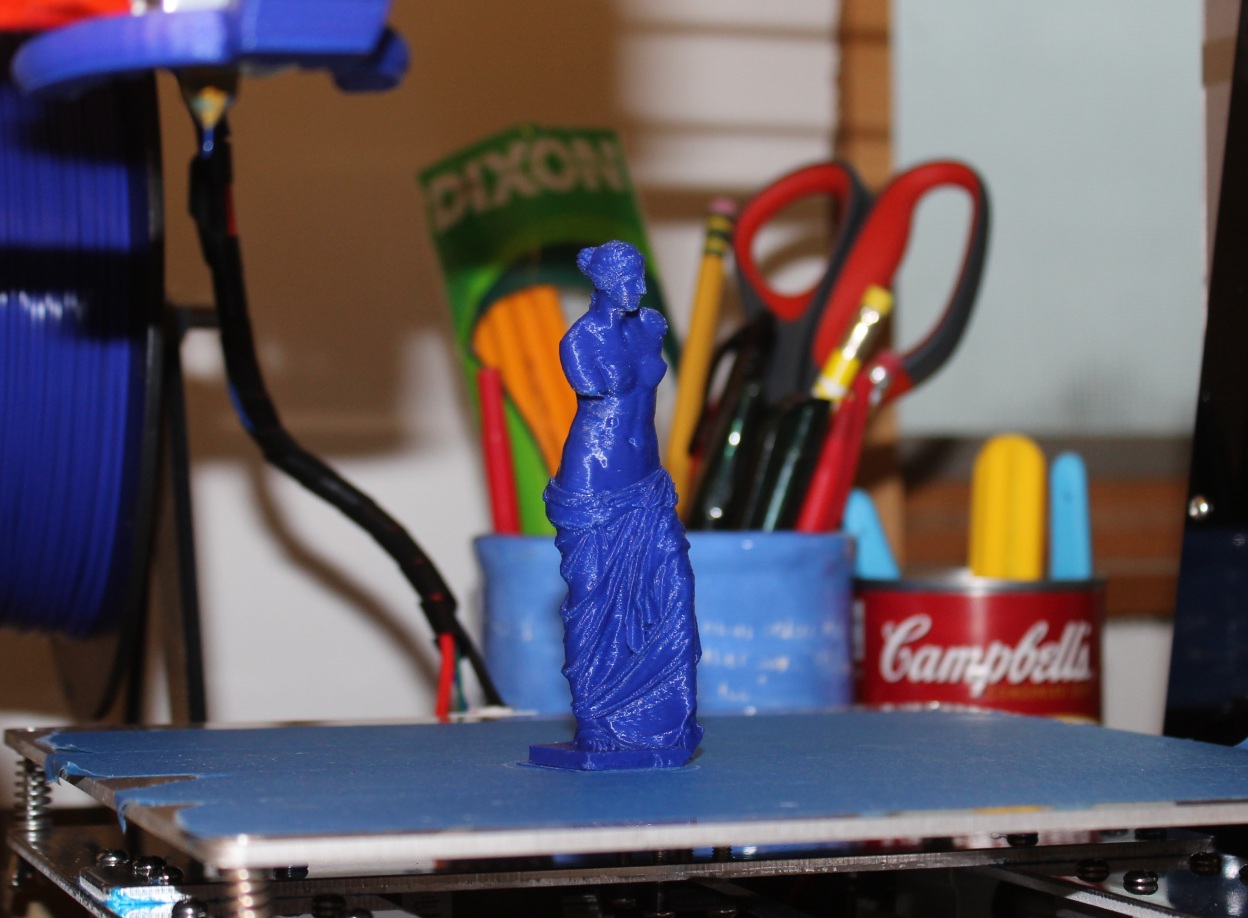
February 22. I think, therefore I print:

Venus de Milo:
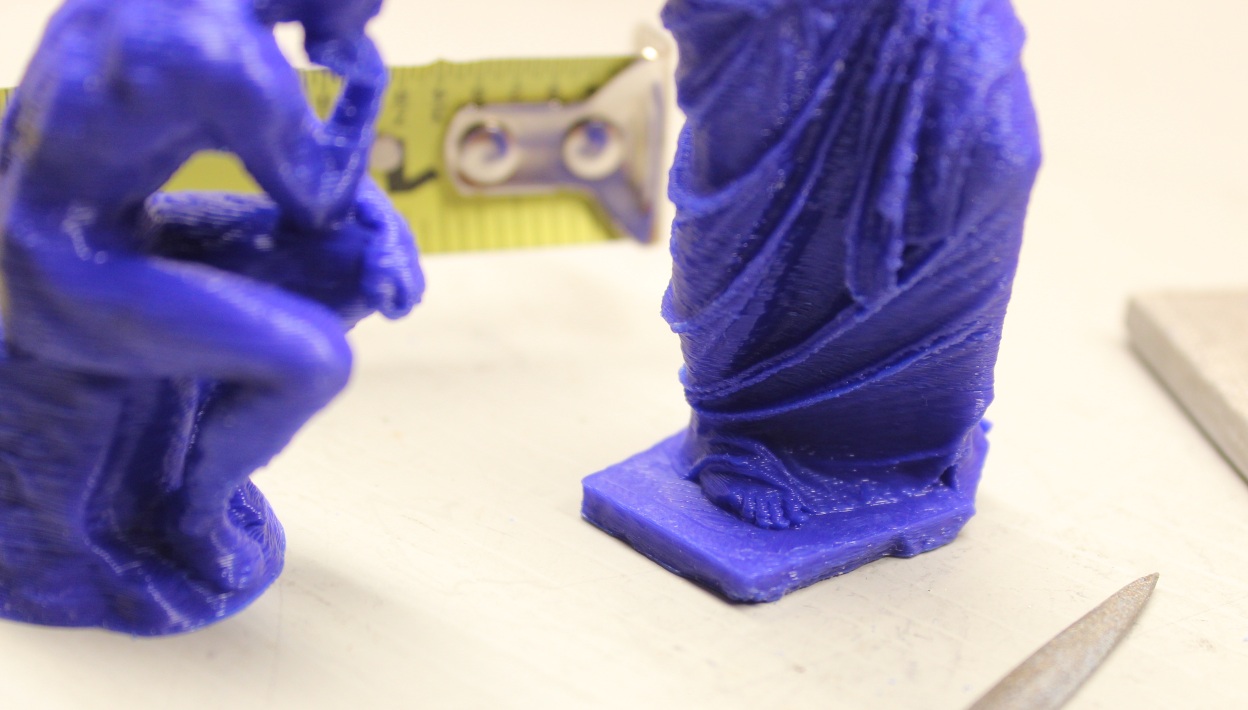
The Thinker seems to like Venus's toes. I understand:
February 24. To decrease x-axis vibration I contemplated some angle pieces from Thingyverse but since I can weld iron, I thought I would try an iron frame support instead:
Correct! Vibrations? What vibrations??
If the idea of going out to the garage to weld an iron frame from scrap seems like overkill, I'm guessing Iron Man wasn't your favorite movie.
More to come.
February 2018