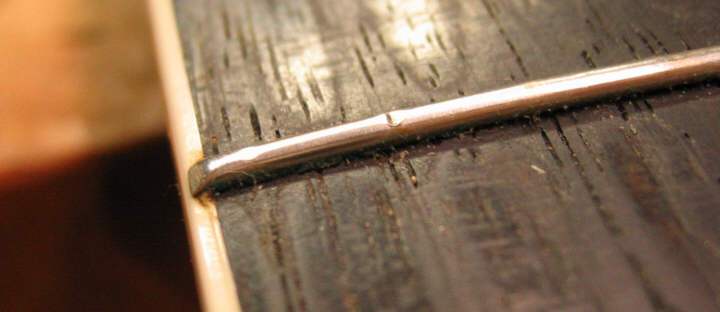
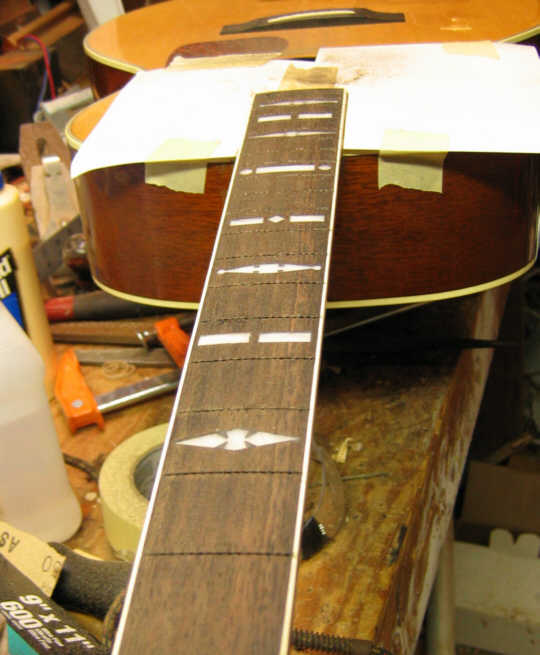
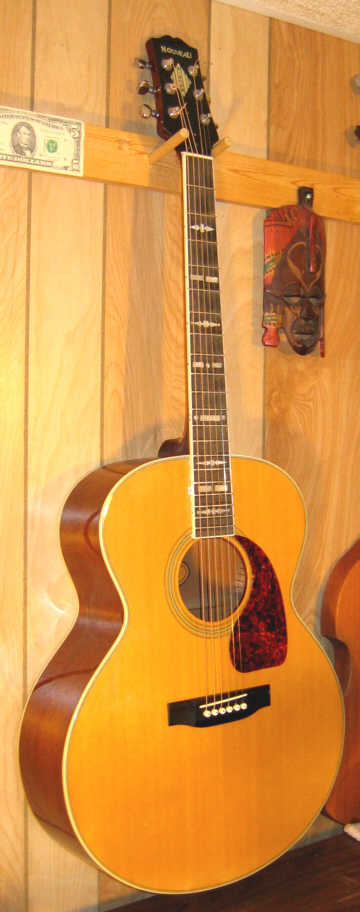
My acoustic guitar is a Gibson Nouveau, maybe 20 years old. Some of the frets looked like this:
Buzzing strings, muffled sound, poor sustain. Time to refret.
I have fretted two guitars, an electric guitar and an electric bass. These had new fingerboards, fretting was easy. My old acoustic, however, required fret removal. I didn't know what I was getting into. I looked for information on the internet, found this excellent site:
I also looked at this one for some verification:
http://www.fretnotguitarrepair.com/Fretting.htm
This is not meant to be a lesson on how to refret a guitar. Don't try this on your precious instrument. I was willing to try this on my old, relatively inexpensive guitar knowing that I could buy a new one if this project failed.
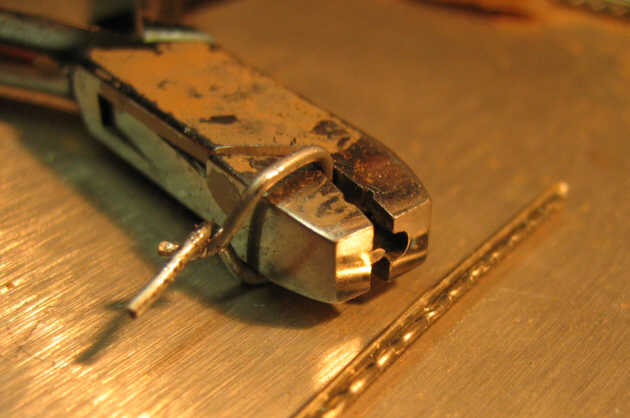
I heated a fret with a big soldering iron. I tried using flatnose channel-lock pliers to grab the fret, but they would not hold reliably. I made a fret-removing tool by grinding the nose flat on a pair of small wire cutters using an old grinder:
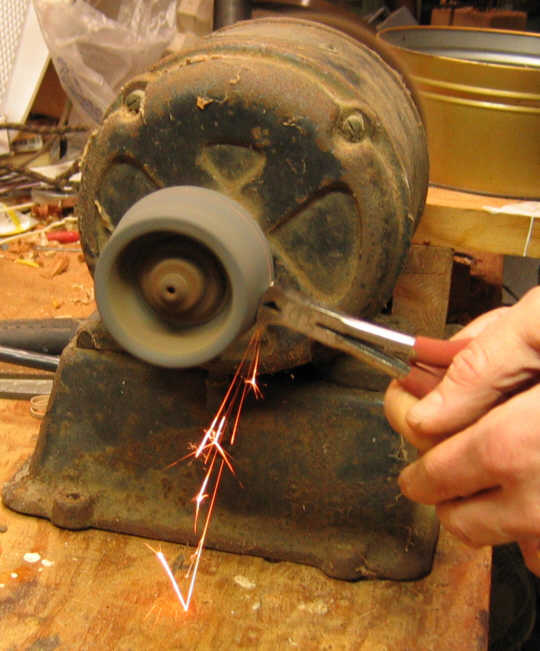
(How old is this grinder?)
The new fret-removing tool:
The sharp jaws bit decisively into the fret. Here is the first fret removed:

Eek. I glued the big chips back in using carpenter's glue. The little chips were so much confetti spreading out over the workbench.
More frets removed here:
I learned as I went along how long to heat the frets (till I smelled burning rosewood!), how to rock them gently out of their slots. It was frustrating, trying not to damage the fingerboard.
Here is the fretless fingerboard ready for repairing and sanding:
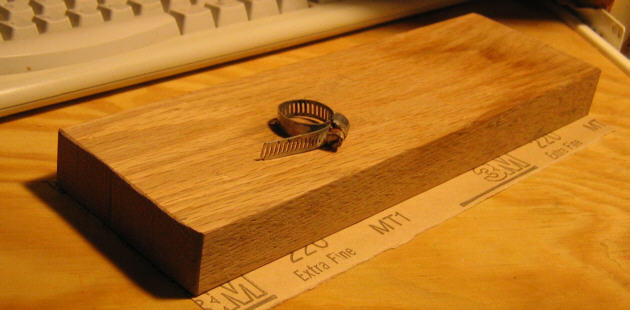
I repaired gaps with "dark walnut" plastic wood filler. I sanded the fingerboard using sandpaper on a block of maple. I started with 80 grit, then went to 100, 150 and finished with 220. The block:
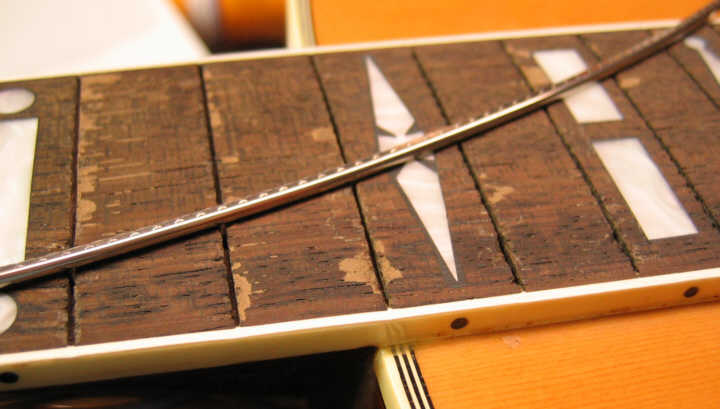
Here is a section of the repaired fingerboard with a piece of curved fret wire:
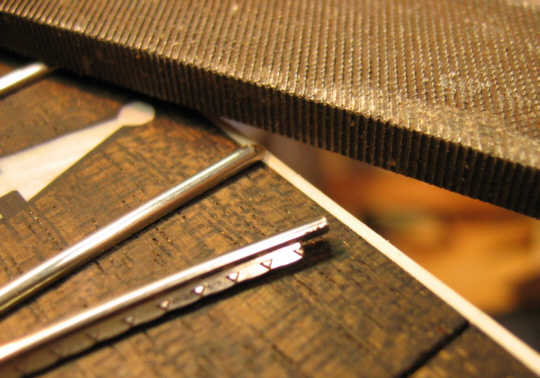
I cleaned the fret slots with the elegant tool sitting on the sanding block. Here is a close up:

I bent the fret wire by hand and put it up against the water heater to check for correct radius :-)
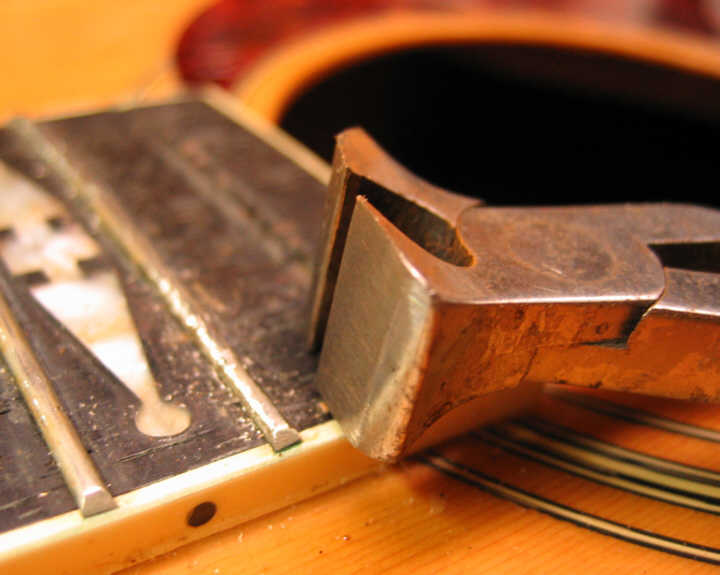
I measured each fret on the fingerboard before cutting it with big wire cutters. The fret tang had to be cut and filed on each end to extend over the fingerboard to the white binding..
The fret slots were wide, probably from burning the wood and pulling out the old frets. I borrowed a tool from my brother that is intended to crimp electrical components so they will sit at the correct height above a circuit board. It served me as a tang widening tool:
I inserted a piece of wire in the jaws of the tool as a stop so the tang wouldn't be bent too much. I struggled with this. I crimped the tangs too much at first and couldn't get the frets to seat properly. I eventually figured out the correct amount of bend to give the tangs. Only a slight ripple in the tang was needed.
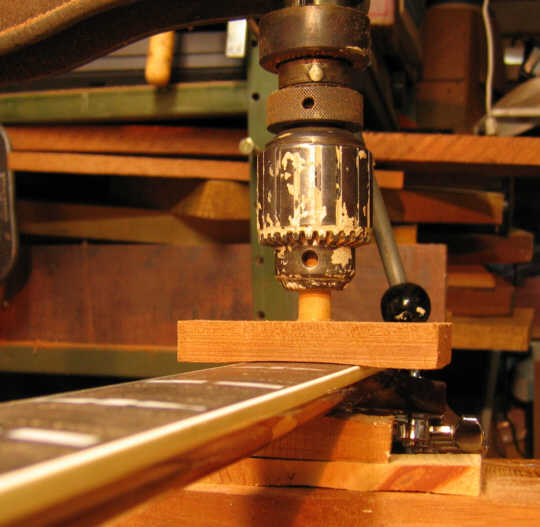
I pressed in the first 10 frets using the drill press:
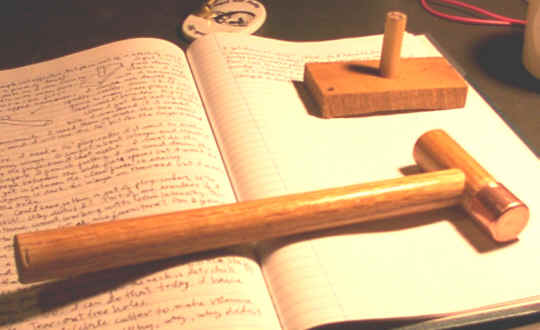
I had to tap in the remaining frets with my fret hammer, made from copper and oak. Here is the hammer and the press tool I made when I built the electric guitar:
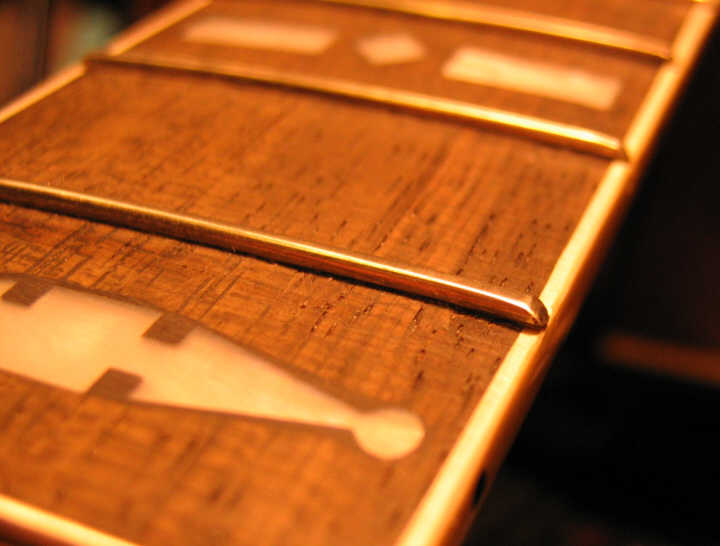
I glued the frets in using super glue as described on the frets.com website. I wanted to be sure they would stay put. I filed the ends of the frets. Then I sanded them using 600 grit waterproof sandpaper on the sanding block. I hand sanded the frets to smooth them over, then buffed the frets with a buffing disc on a power drill. Here is a new fret, done:
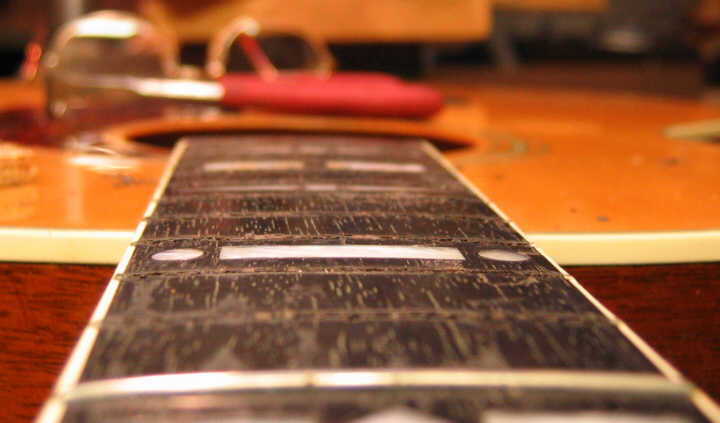
I put on new strings, retightened the truss rod about a half turn. Success! The action is low, the guitar is easier to play, sounds great.
March 2005