I attached an Oregon Scientific camera (see details about the camera with auto-timer) to the plane with rubber bands at the same position along the stick as the battery pack. I had to slide the battery, camera and wing around until I got good balance fore and aft and side to side. The plane is heavy.
In the field, the plane struggled to stay level, let alone climb into the sky. With the camera clicking (beeping, really) away, I got this nice self-portrait:

Here is the first aerial picture taken by the camera, for the record:
Impressive!
July 15 2005
I tried flying the camera several times but have not been able to get the plane to climb. I may try to lighten the camera by making a 3 volt voltage regulator, to run the camera and timer off the main battery pack. If that doesn't help, I will have to go to a lighter camera.
July 19
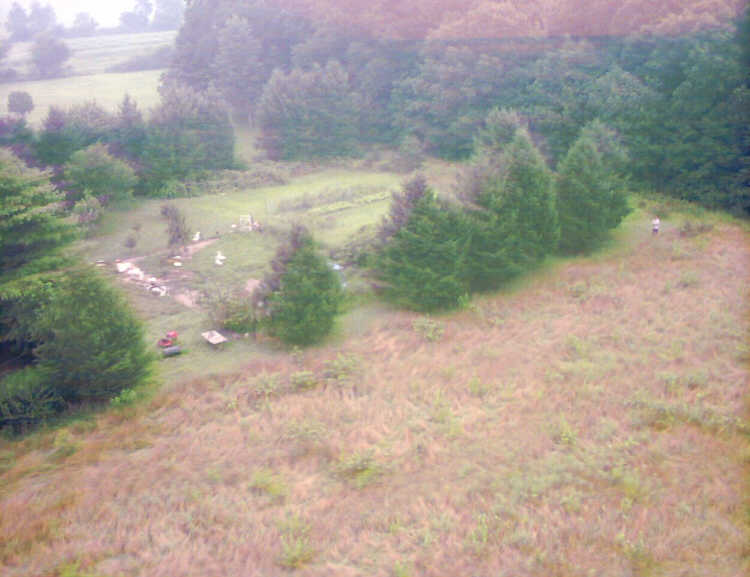
I breadboarded a voltage regulator, which works but gets hot thereby wasting energy. As I worked at it, I thought I might simply tap 3 volts off the battery pack to run the camera and auto-timer (I later found this to be impractical since the camera would stop shooting unpredictably as the voltage to the camera dropped):

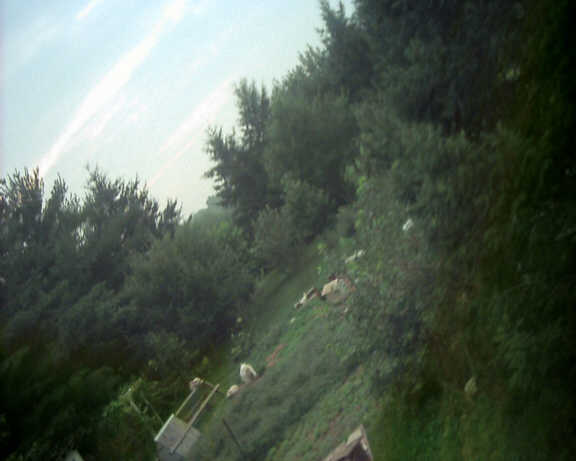
This works, got this picture of the turkey yard:
The plane, however, still refuses to climb higher than about 20 feet. I must find a lighter camera or go to lithium batteries if I want high aerial photos.
Wireless Camera
I have a wireless CMOS color surveillance camera and receiver. The receiver plugs into the AV input of my camcorder which can record video from the camera. This would give real-time first-person video from the plane. Yay! I tried flying the camera using the plane battery plus one NiMH AAA to give the camera more voltage, since it needs about 12 volts to transmit. I had the same weight problem and even more frustrating, the camera stopped transmitting at full throttle, probably due to the drop in voltage to the camera. Only noise recorded on tape.
I stripped the camera of its case and added a 3-cell, 4-volt button battery pack to increase the camera voltage to 12 volts without adding much weight. Here are the camera parts rubber-banded to the 7-cell NiMH battery pack:

For portability, I tied the camera receiver and its battery pack to the legs of the tripod that holds the camcorder:

Here is a short Real Video of the very short first test flight. It was windy, so I will have to wait to try again.
July 20
I flew the wireless cam this morning, got some noisy footage. It's a neat trick and I will fly it again, but the video quality is poor, as expected from a little surveillance cam.
Inspired, I pulled the case off the Oregon Scientific. It shed about 1.5 oz. Here it is with front and back halves of the case to the left and right. The timer board fits in the camera space now. Battery pack and camera weigh 8 oz. together.

I removed the battery holder and disconnected the flash and flash capacitor since I won't need the flash on the plane flights. If this is still too heavy, maybe I'll get an Aiptek 1.3 megapixel pencam.
Note that some web sites say the Slow Stick can haul a lot of weight, and that it flies better with some weight. This does not mean that it can haul my camera! It flies great with the 7-cell 2/3 AA NiMH pack, but it can't carry much more than that based on my limited experience.
July 21
The plane climbs well with the 8 oz. load of battery pack and stripped camera. I got several pictures, but they are blurred by the vibrating plane. An example:
The prop shaft may be slightly bent from numerous bumpy landings, but I will assume the blurred images are due to the cheap camera tied to a vibrating plane. On the next flight I will try to climb higher and cut the motor to decrease vibration. I will play with the camera mount also to try and isolate the camera with rubber mounts.
July 23
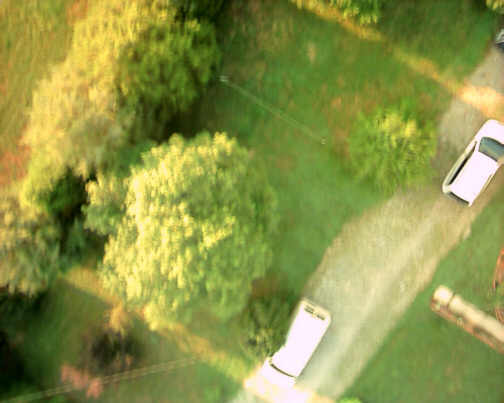
I mounted the camera on pieces of rubber tubing, aimed it to the side, got this pictures this morning.

The prop was going at full speed. I think the rubber mounts help decrease photo blur. The plane is half an oz. heavier with the mount and it seems to make a difference. I wasn't able to get the plane as high today. I will trim the mount as much as I can for the next flight.
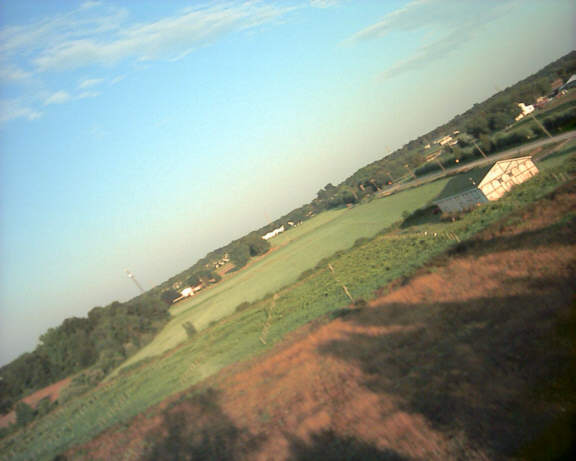
July 24
The plane still climbs slowly; got this picture this morning:
If I want to continue with this set-up as is, I will have to increase the interval between shots, since the camera only holds 26 pictures. It runs out of memory before the plane gets as high as I want. Or I can try "basic" mode for lower res pics.
Here is a low-res pic:

August 3
The Aiptek 1.3 megapixel Pencam arrived in the mail yesterday. $40 plus shipping from Aiptek.com. I took a few pictures to make sure it worked, then opened it up to attach wires from the auto-timer (see the auto-timer on my Oregon Scientific page). I left off most of the case to reduce weight. With the auto-timer, it weighs about 1 oz. Here it is:

The yellow wire is soldered to the outer terminal of the shutter button, closest to the case. With the case off, I had to refocus the lens by using the camera as a live web cam while focusing on a distant object. Then I taped it to keep it from turning. Here is a picture from its first flight:
August 19
I got the plane higher by getting CBP750 batteries at cheapbatterypacks.com. They are lighter than KAN1050's. I also got KAN180's to power the camera. These are very small NiMH batteries for receivers. Two of them power the camera and auto-timer. I gave up trying to use the plane battery pack since it loses voltage over a 5 minute flight. Here is a picture me in the corner of the field next to my house:
The color is bad, but will be better of a bright, sunny day.
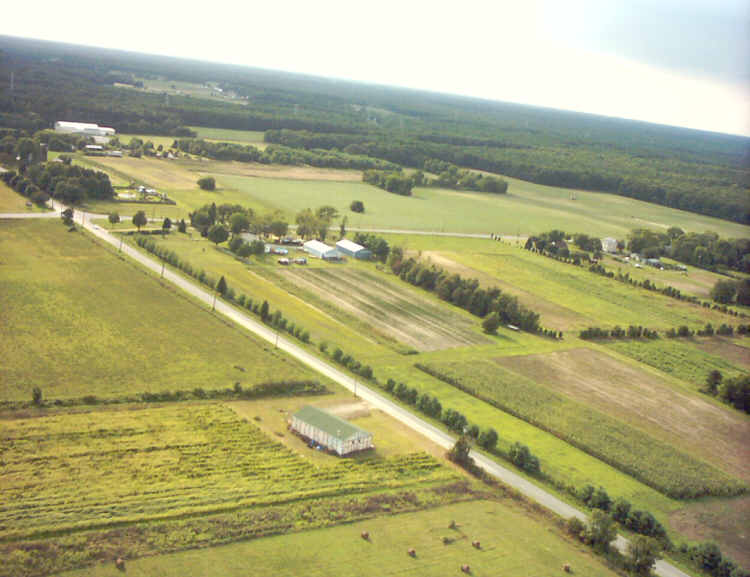
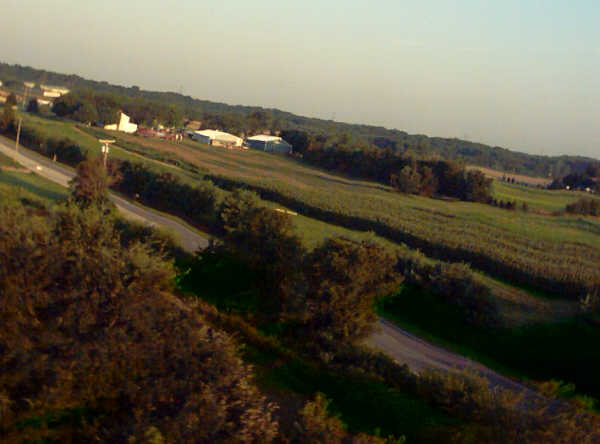
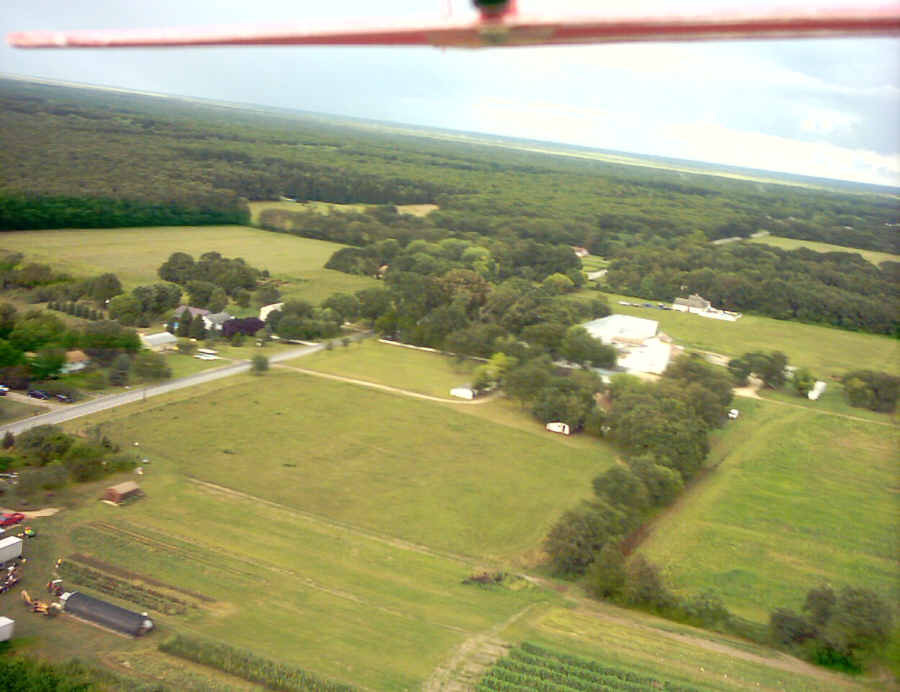
August 27
A plane crash and subsequent propeller change gave new life to the plane. The other propellers I was using were probably not well balanced and robbed the plane of power. The plane climbed much higher and much more quickly with the new prop. Here are two pictures I took today.
Spare props ordered.
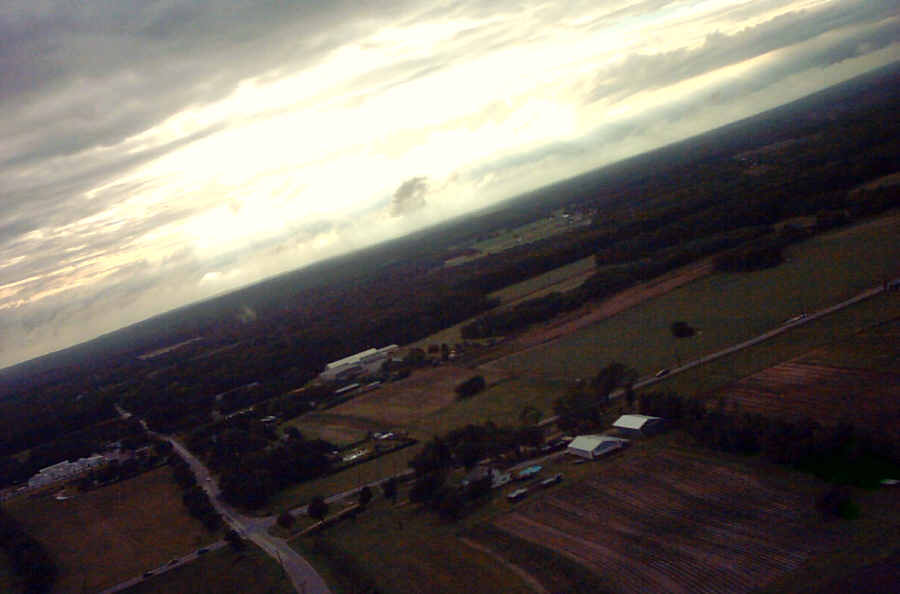
August 28
I crashed again and broke my well-balanced prop. Determined, I superglued the prop together, then drizzled epoxy on the cracks and wrapped them with string. I let it dry for 2 hours, then flew the plane again, got this pic to the west: